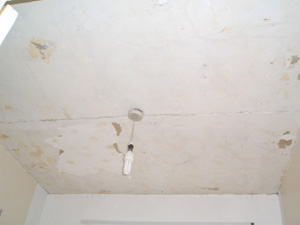
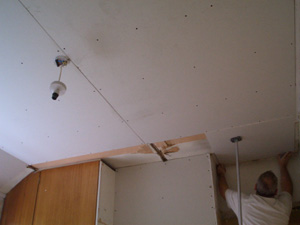
Step 1 - Old Unsound ceiling before overboarding with new plasterboards
|
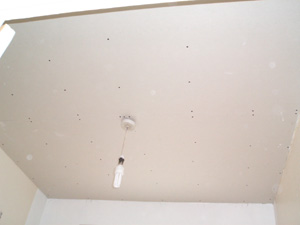
Step 2 - New plasterboards fixed into position |
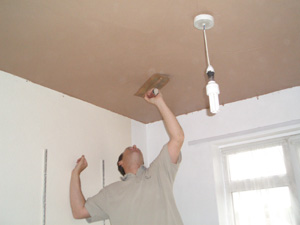
Step 3 - New ceiling receiving a smooth plastered finish
|
|
Step 1 - Old Unsound ceiling before overboarding with new plasterboards
|
Step 2 - New plasterboards being fixed into position |
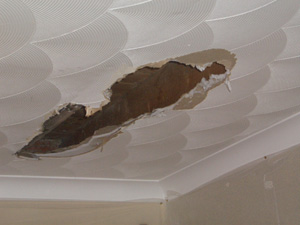
Damage To Artex Ceiling Caused By Water Leak
|
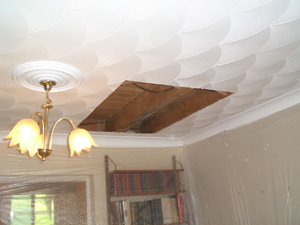
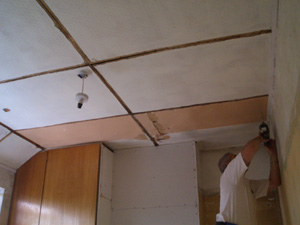
Repair - Step 1 - Square off plasterboard to ajacent joists |
Step 2 - Fit new plasterboard and skim over existing
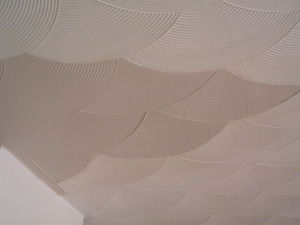
Artex
in preparation to receive a new artex finish |

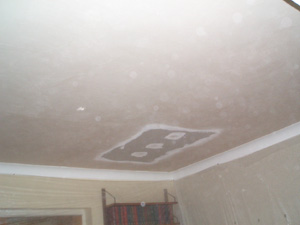
Step 3 - Ceiling re-artexed in comb finish and repainted with 2 coats of emulsion |
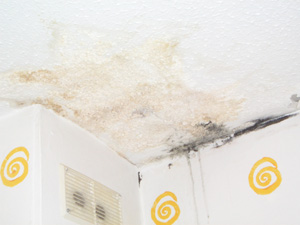
Water damage to kitchen ceiling & wall caused by
water leaking from the flat above
|
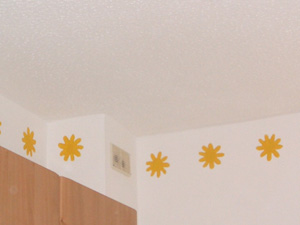
After - Ceiling and wall repaired
Ceiling and walls completely re painted
New Stencil work |
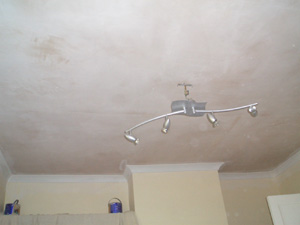
New plasterboard ceiling fitted and plastered, along
with new coving
|
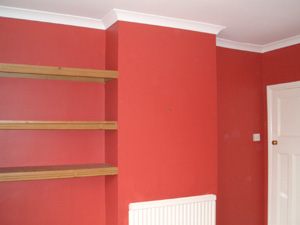
Ceiling, coving and walls all repainted |
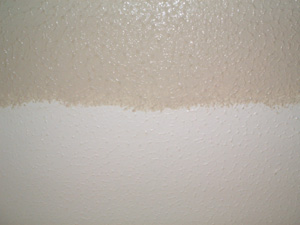
Localized artex repair
Artex matched into existing finish
|
Another localized artex repair, saves time and money by not having to re-artex the complete ceiling |